Pâte Feuilletée (Puff Pastry) is, to me, the king of all pastries.
I say this with confidence because personally, it has never disappointed me. The fact that it stores perfectly in the deep freeze and thaws readily are just some of the reasons why I always have a few sheets in my freezer at any given time.
Why have I chosen Puff Pastry over all the others? It’s true that most pastries store well in deep freeze – from the very fragile Filo Pastry, through to the temperamental Puff Pastry and the endurable Shortcrust.
Well, my main reason is it’s versatility. For example, you can technically use Puff Pastry in place of Shortcrust to make a pie base if you don’t have the latter, as long as you blind bake it well and long enough to ensure it becomes crisp. You have to also weigh it down very well to make sure if does not puff when using it for this purpose. When making something like a curry puff, Puff Pastry is the perfect substitute for the traditional spiral pastry of the Nyonya variety, if you can’t be bothered making it.
And my point for mentioning a pie base and curry puffs? Well, you can’t exactly use Shortcrust as a spiral pastry substitute as it is too dense and heavy in the mouth for this purpose. It would be an overkill of rich butteriness and you would end up tasting the pastry more than the filling.
I know that this is most likely an unrelatable experience for most readers however it’s the best example I could give from what I’ve found.
When it comes to buying ready rolled Puff Pastry, I always recommend that you look for ALL BUTTER. It HAS to be ALL BUTTER.
Why do I say this? Well, let me explain.
Lot’s of store bought, ready rolled Puff Pastry is made with margarine or some sort of hydrogenated vegetable fats. Put simply, hydrogenation is the addition of hydrogen to a liquid-at-room-temperature fat to make it solid at room temperature. Yes, there is a massive stigma about margarine and trans fats and the dangers of any hydrogenated fats, and yes, that’s one reason I don’t like to use it. But chief among my reasons is the fact that not only do the non-butter varieties lack in fragrance and taste, they sometimes leave what I can only describe as a strange film in your mouth after eating it.
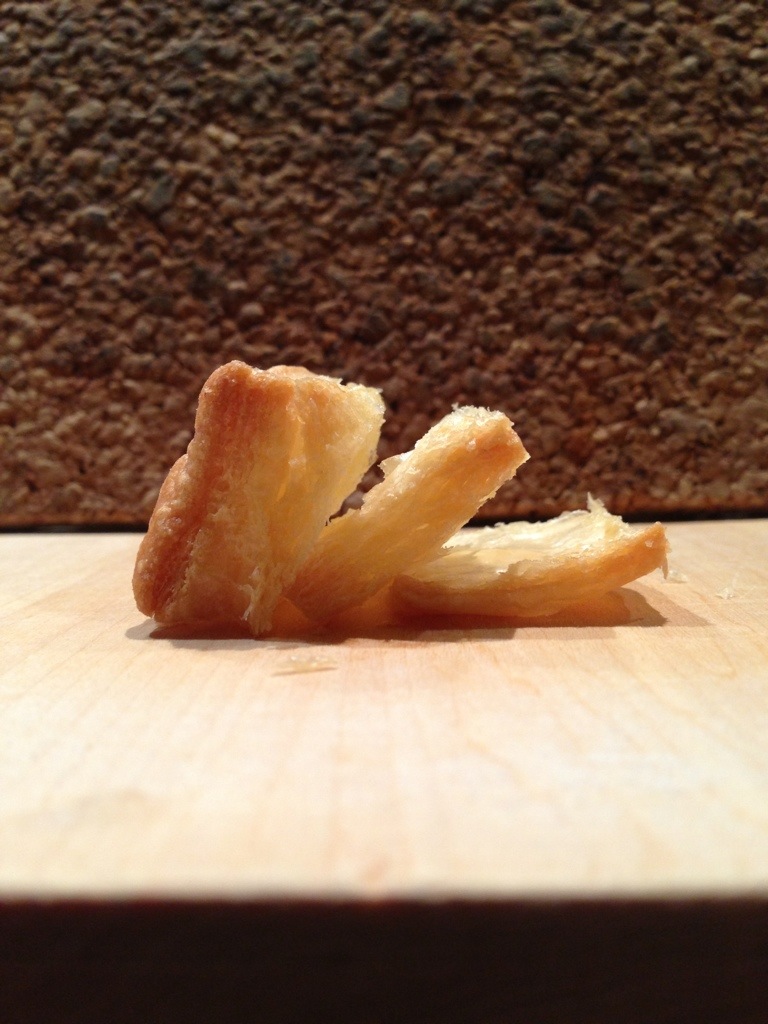
I admit however that non-buttered puff pastry provides an extremely flaky end product. However, you can find some gourmet pastry makers who make it with all butter which have a superior flakiness to the non-buttered stuff. I have provided some links below to places if interested.
So I have spoken about my passion for Puff Pastry and now I will show you how I make it.
All Butter Puff Pastry
Ingredients
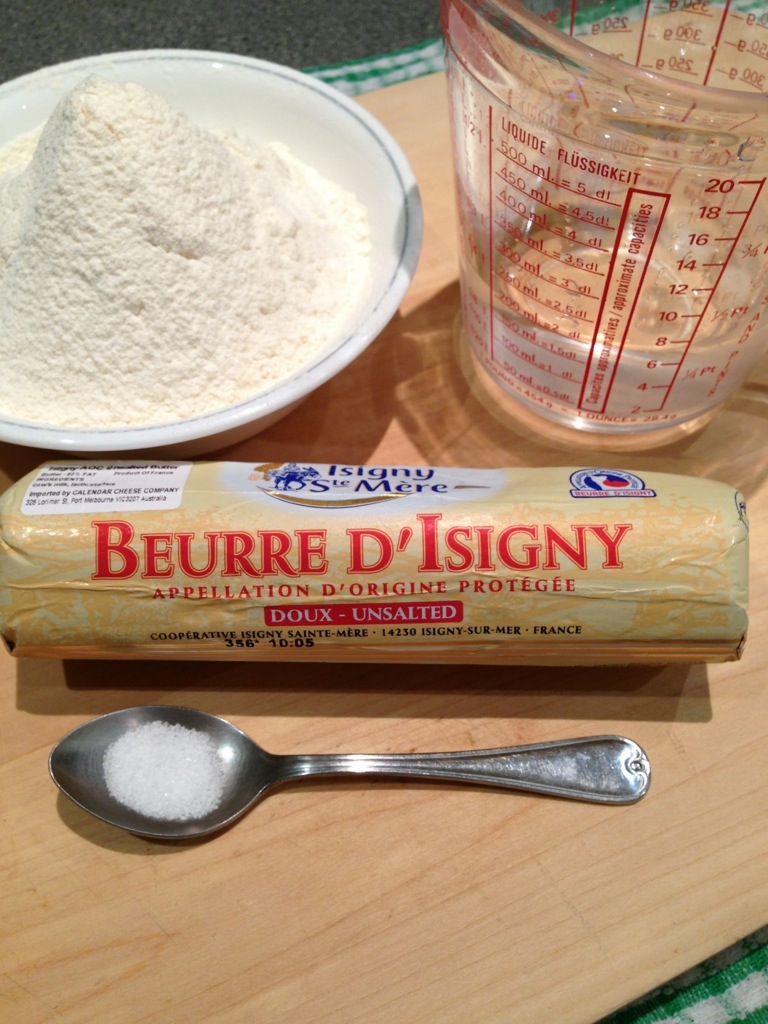
150 grams of COLD Butter (remove 30 grams; melt in the microwave and set aside)
145 grams of plain flour
75 ml of COLD water
3ml of vinegar
2g of salt
Notes on Ingredients:
Butter – Most butters available in supermarkets contain a minimum of 80% butterfat with the remaining 20% being mostly water in the form of buttermilk. When you buy butter, look at the label. The higher the butterfat content, the better. I have chosen to use Beurre d’Isigny with an 82% butterfat content.
Water – The water has to be cold. This is because Puff Pastry is made by laminating butter in between water dough. If you haven’t guessed already, this technique borrows slightly from the scientific & proverbial – Oil and Water don’t mix. If you use warm water in the water dough, you give the butter a chance to melt. When the butter melts, it does in fact get absorbed into the dough. I know this contradicts the idea of Oil & Water, but remember, the dough is 66% flour; and flour does absorb oil. By allowing the butter to stay somewhat solid, it has no chance of being absorbed and mixed in the dough. When this happens, you should just as well throw it out as it will not become flaky. It will puff up slightly, but it will not flake.
Vinegar – Vinegar is an acid. When added to the détrempe, it strengthens the bonds of gluten, making the dough ‘stronger’ and stretchier making it less likely to tear when rolling. You can substitute vinegar with the same amount of lemon juice if you like. Please note that some say acid is unnecessary. I have done it without vinegar once, and to be honest, I couldn’t tell a difference. I still use it though – don’t ask why because I probably couldn’t tell you.
Tools
Rolling Pin
Chopping Board or stone bench
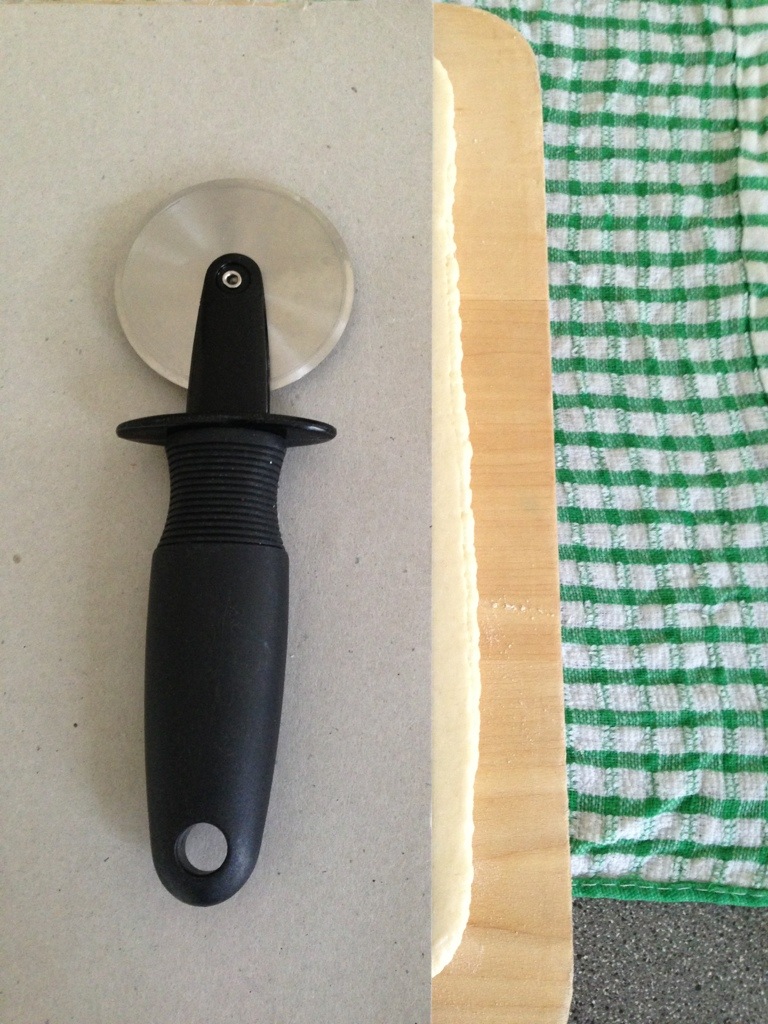
Pizza Cutter
Cling Wrap / Cling Film / Saran Wrap
Glad Go-between sheets or Greaseproof Paper
Large Bowl
Notes on Tools:
Rolling Pin – You will need a good, long, even rolling pin for this. Do not use a tapered one. A marble rolling pin is ideal as it stays cool, but a wooden one (like the one I use) is fine. Don’t use anything textured.
Pizza Cutter – An odd tool to use. I find it works best though because sometimes, depending on the person cutting the Puff Pastry, when you run a knife along to cut it, the sheer action running the knife most often than not pulls the pastry, squashing and compressing the edges where you cut. When the edges are squashed, they will not in most cases fan and flake out when baked. When using a pizza cutter however, you are just applying one even pressure directly on the board without lifting it off the board. Due to it’s circular motion, it does not pull the pastry thereby leaving a very clean cut. I have a picture below to show you too.
Cling Wrap – I use this to wrap the pastry in between turns. You should too.
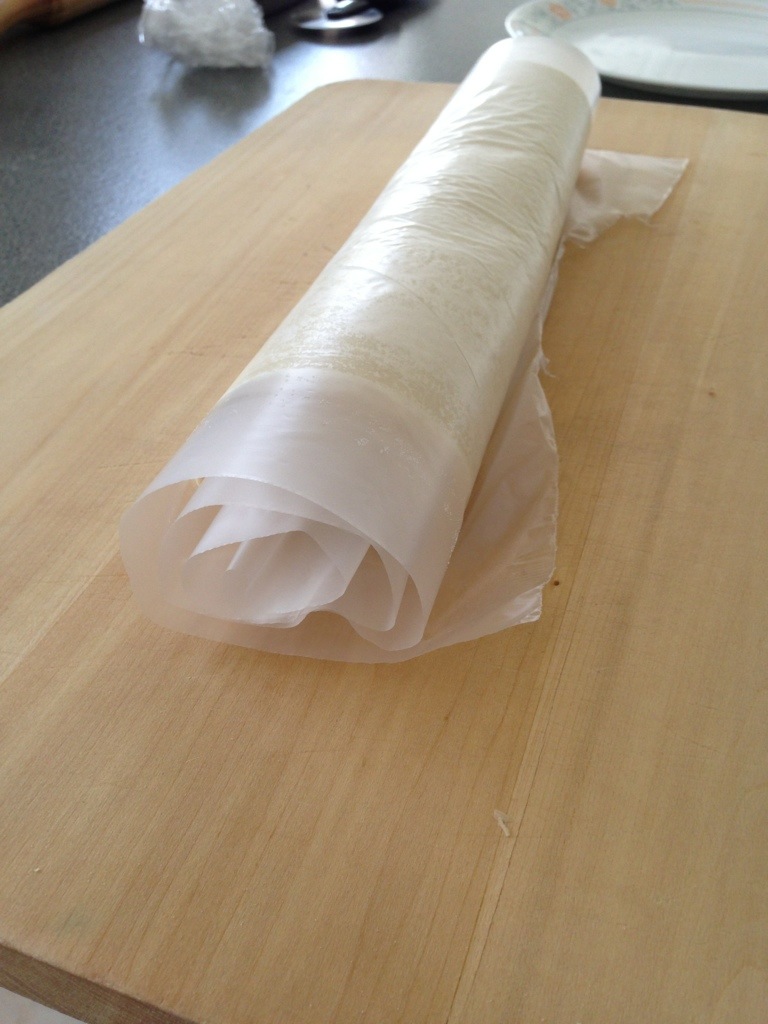
Glad Go-Between / Greaseproof Paper – I use Glad Go Between which is almost exactly like the thin freezer film you find with shop bought Puff Pastry to wrap the final product for freezing. If you can’t find it, simply use greaseproof paper. It also gives a nice rustic feel if you happen to have the brown variety.
Method
The first thing you need to do with any traditional puff pastry is make the détrempe or water dough.
Please note that many recipes, including the one in Larousse Gastronomique don’t include melted butter in détrempe. You don’t have to either. If you can’t be bothered rubbing and blitzing (see below), skip the below step of separating the butter, melting and incorporating it into the flour. Simply leave it in the block and use it as normal for the beurrage (butter block).
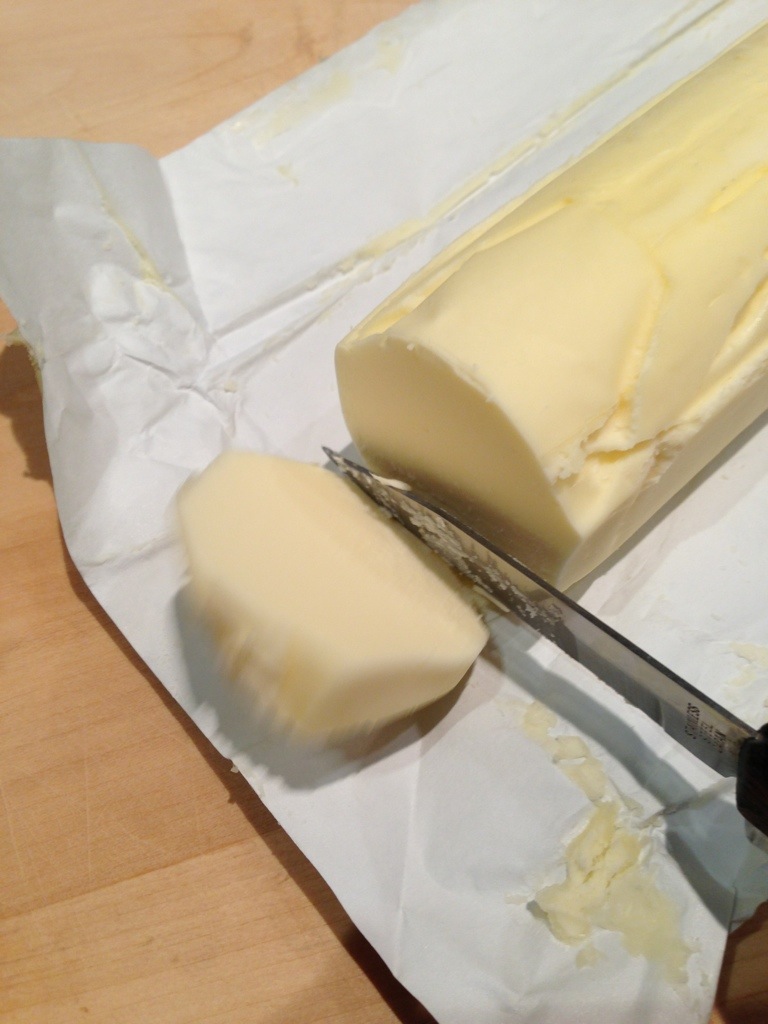
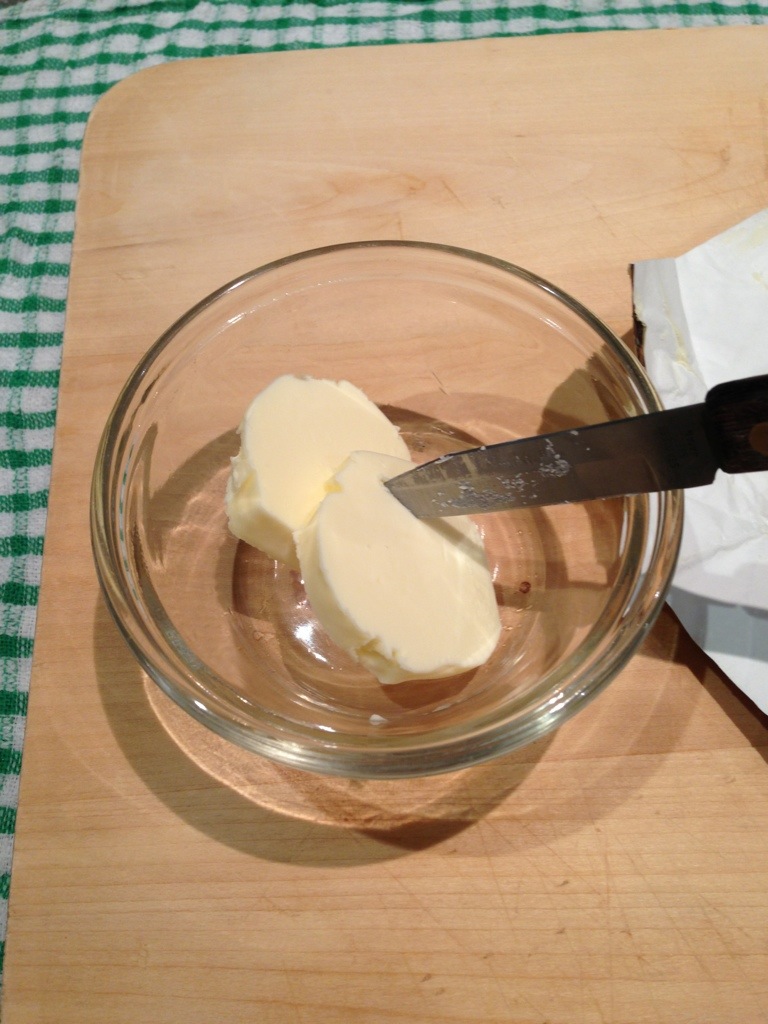
If you choose to add butter to the détrempe, separate 30 grams of the butter from the block.
Then, impale the pieces with a knife and add them to a microwaveable bowl. Microwave in short 10 second bursts until the butter is fully melted.
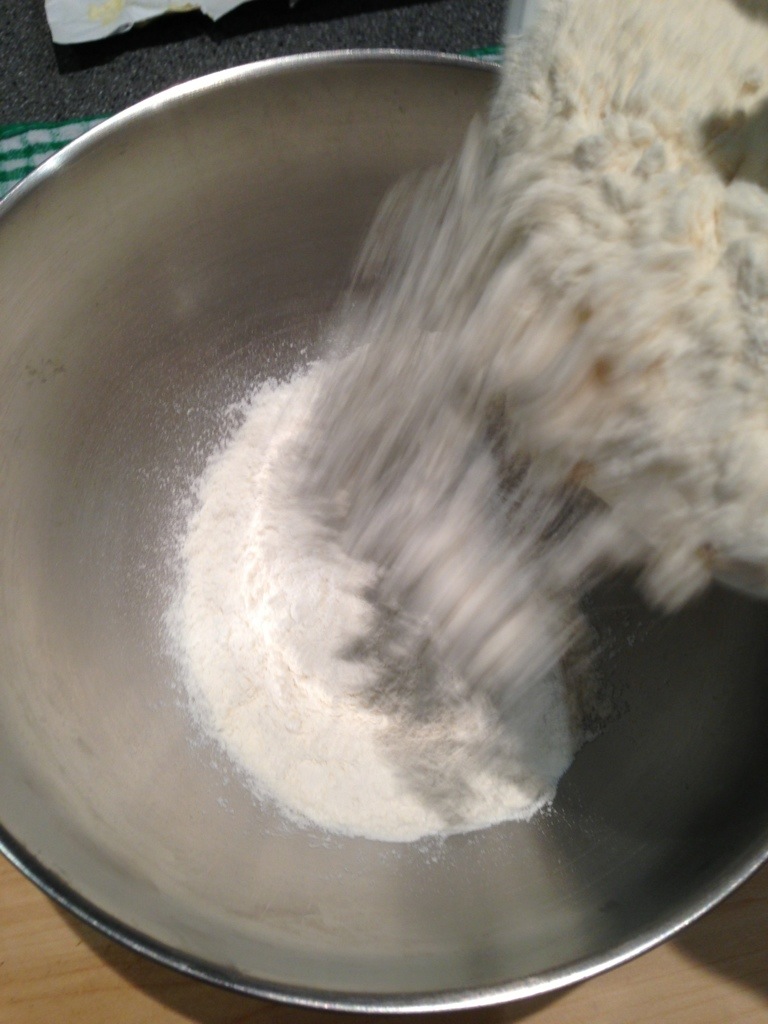
Sift the flour into a large bowl.
Next, add the melted butter.
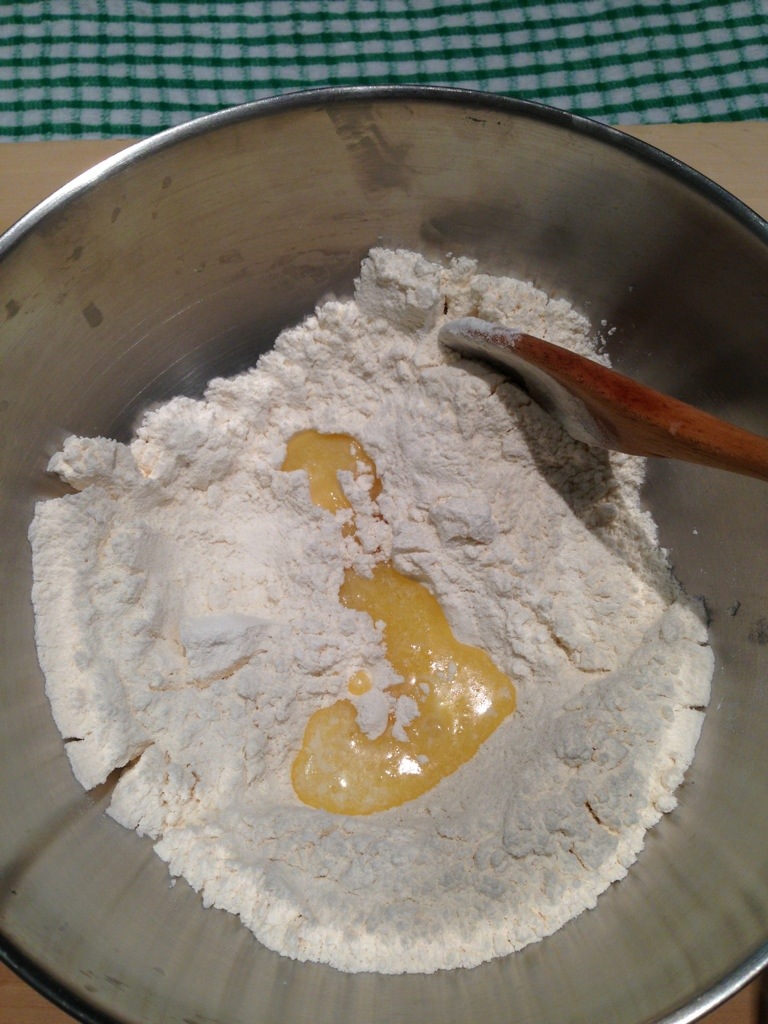
Crumble the melted butter with your fingertips into the flour until it is evenly dispersed. Use your fingers, exactly like how you make scones, the only difference being that the butter is not solid. If you are making a larger portion, use a food processor and blitz. Use a food processor as well if you can’t be bothered using your hands.
Dissolve the salt into the water and add the vinegar.
Add the COLD water mixture. Don’t add all of it. Add most of it (i.e. 90%). This is a necessary step as the amount of water you add really depends on the ambient humidity and the manufacture of the flour.
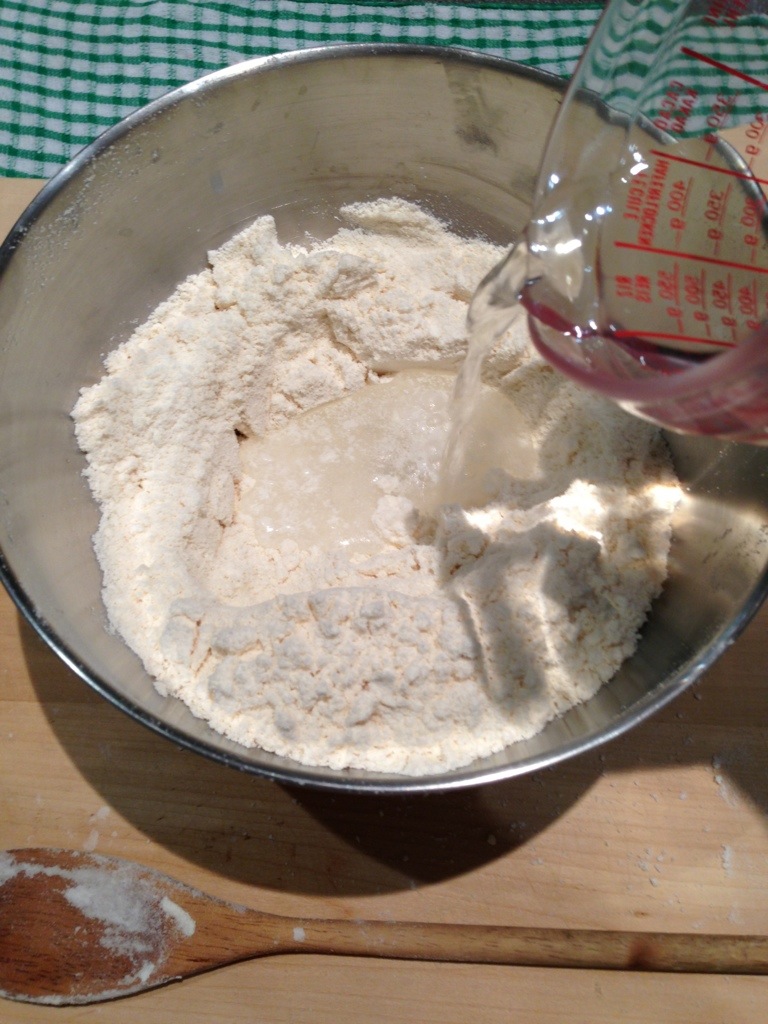
Stir the mixture until it forms a dough that separates itself from the side of the bowl. At this stage, if it is not coming together and is too dry, add more water. Stop adding water when the dough is nice and pliable, but not sticky. If you have sticky dough, add more flour.

Turn the dough out onto a floured board and give it a knead. Knead the dough until it is just smooth. Unlike a Shortcrust pastry, which needs minimal kneading to prevent the gluten from developing (hence short), Puff Pastry can benefit from a bit of kneading to develop the gluten. This will make the dough more stretchier, making it less likely to tear when rolled out and providing more defined flaky layers.
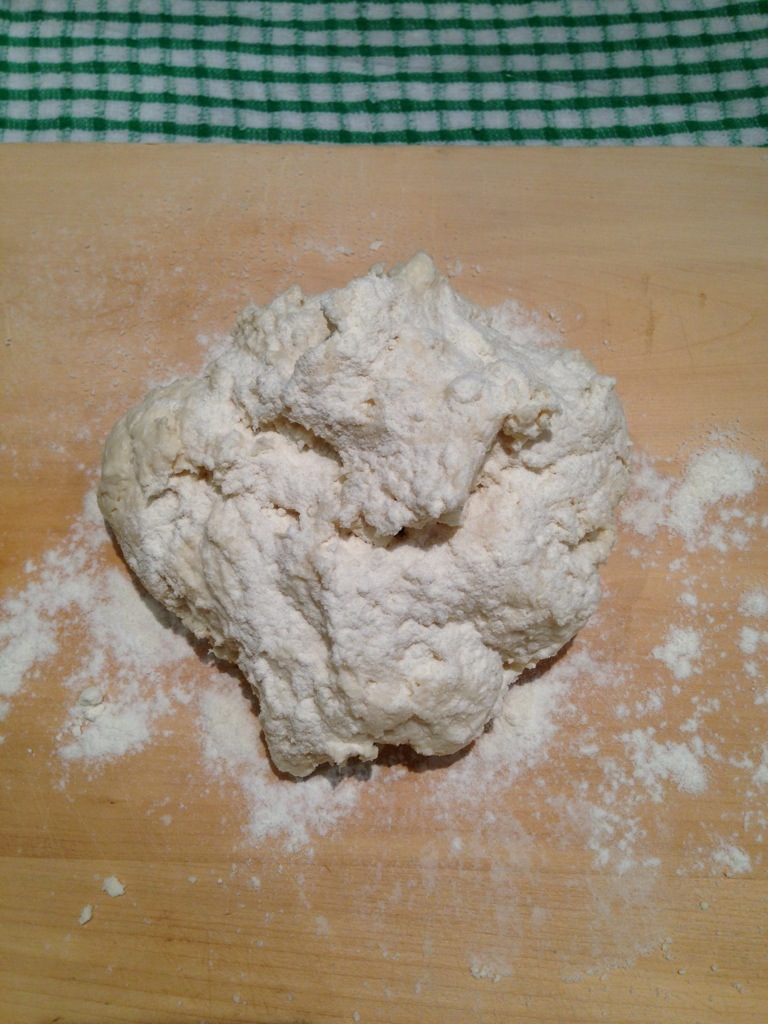
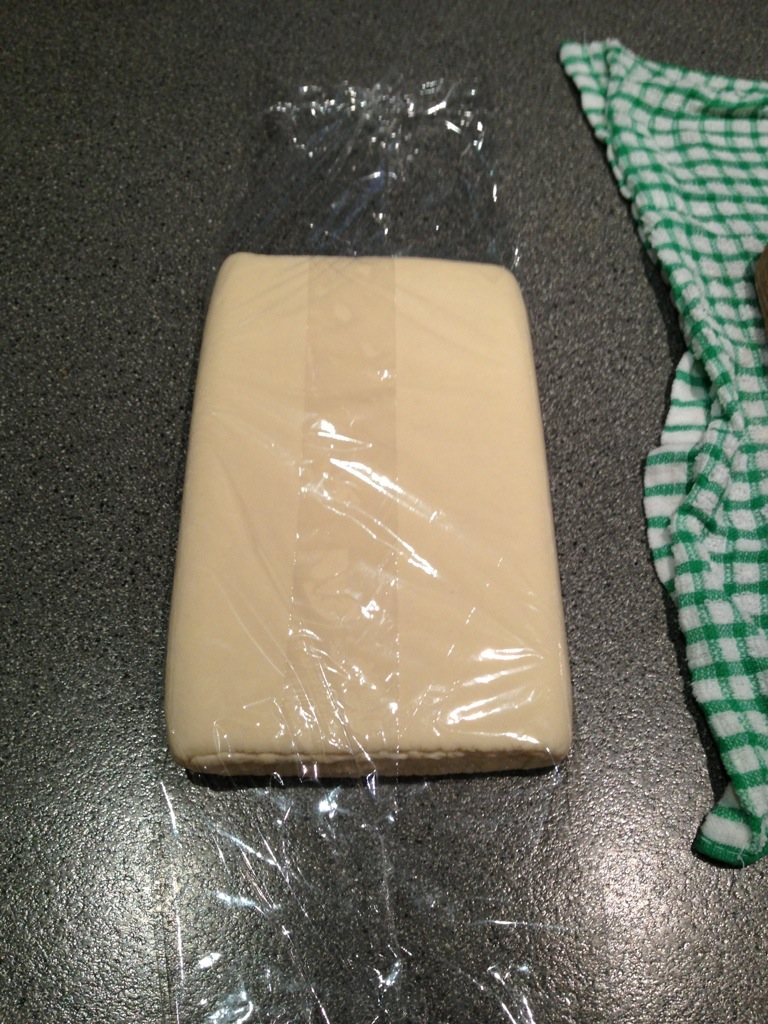
Form the dough into a ball.

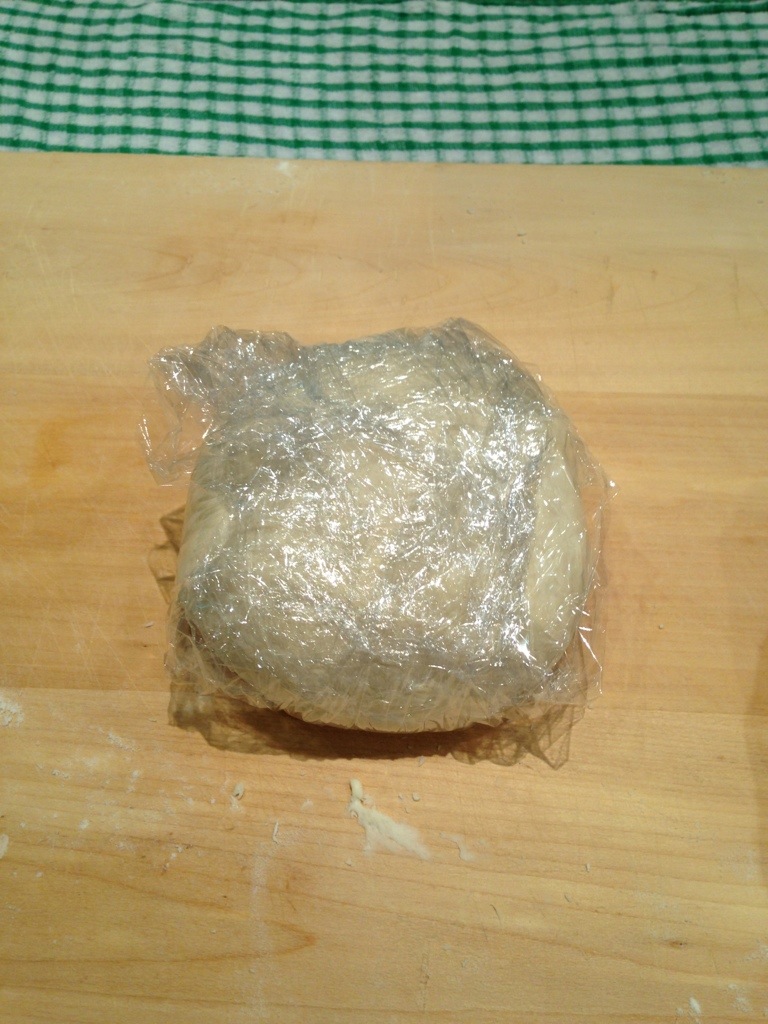
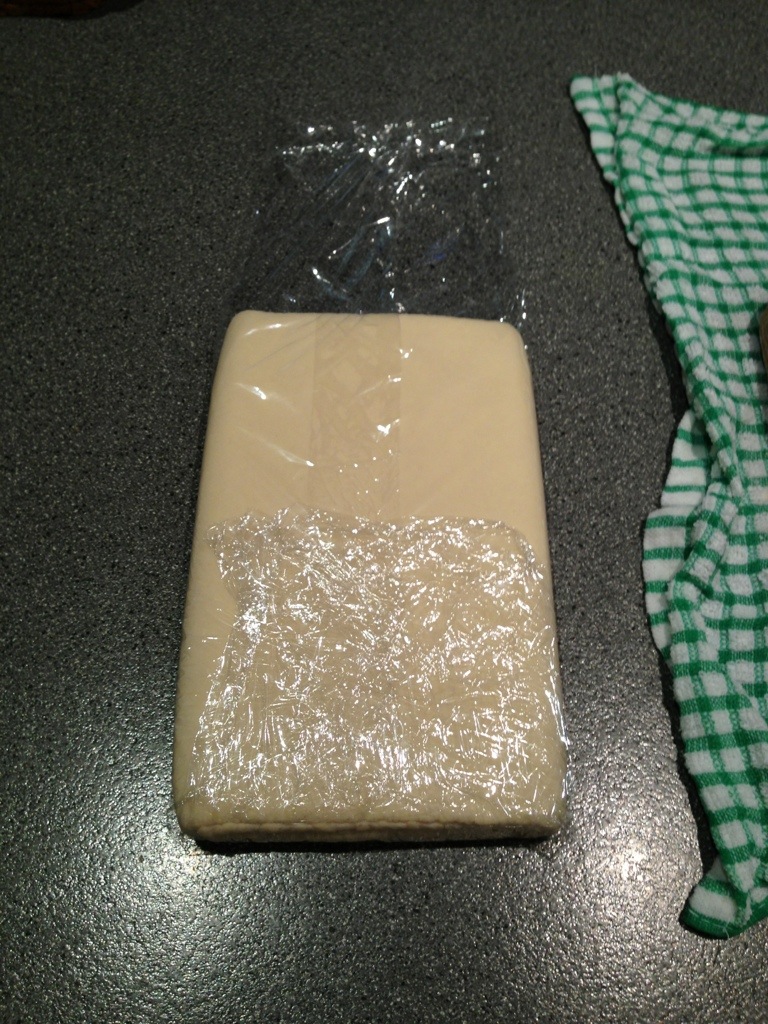
Wrap the dough with cling film and place it in the fridge to rest. Rest the dough for at least two hours. During this time, a few things happen. The flour will fully absorb the water. The gluten will relax, making the dough easier to roll. The dough should also harden up, making it an ideal texture to roll with the butter.
Before you take out the rested dough from the fridge, press it with your fingers to gauge how soft it is.
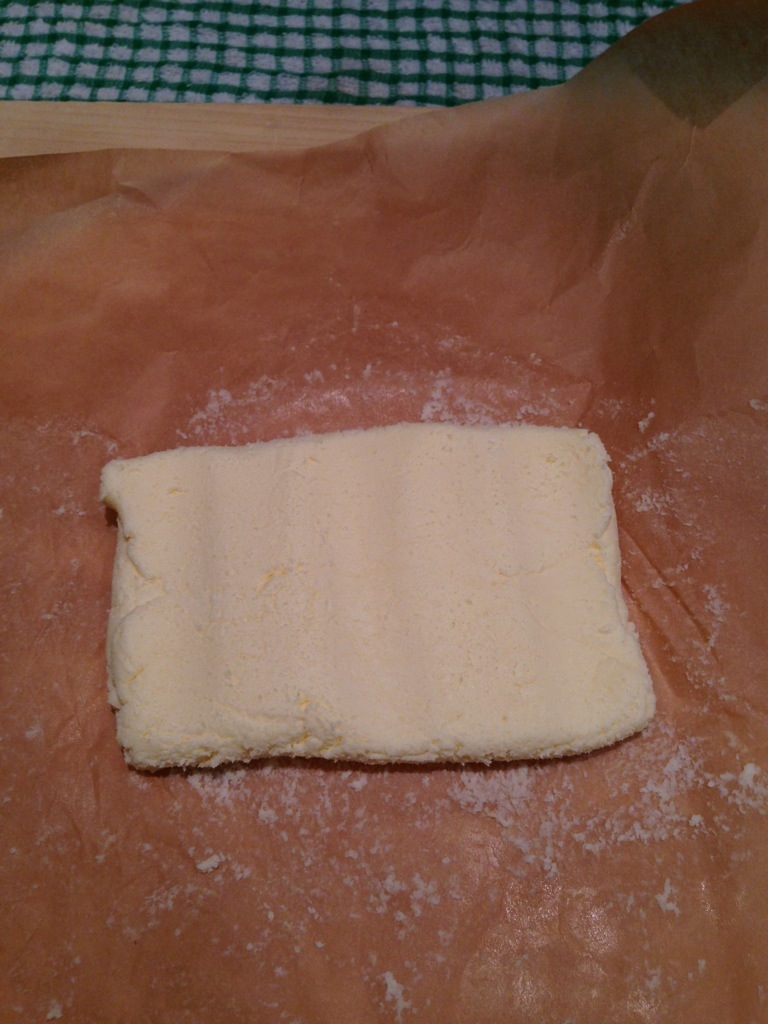
Now you need to club the cold butter with a rolling pin and shape it into a square. This square butter block is called the beurrage. I do this in between sheets of greaseproof paper. I smack the butter starting from the centre of the block and moving outwards, elongating it. Then I remove the top layer of greaseproof paper, fold the elongated, flattened block of butter in half, replace the top layer of paper and smack again. This helps me to avoid touching the butter with my hands.
The are a few reasons for pounding the butter. Firstly, this is to create a square with even thickness in which the dough will wrap around. Secondly, this is to soften the butter to make it the same or similar softness to the dough. If the butter is too soft, it will squeeze out of the détrempe like if you squeezed a mochi that you have just bitten into. Then it will get very messy, very quick. If the butter is too hard, it will pierce through the dough as you roll it; making it impossible to laminate. It will also get very messy, very quick.
Now that the butter is beaten, set it aside and take out the dough ball from the fridge. Press the dough ball to get an idea of how soft it is and press the butter as well. Ideally, the butter should be a similar softness. If it is too hard, beat it and shape it again. Then press it. Repeat if necessary. If the butter is too soft, you may have to put it back in the fridge until it firms up slightly.
If everything is good, make a cross cut on the ball.
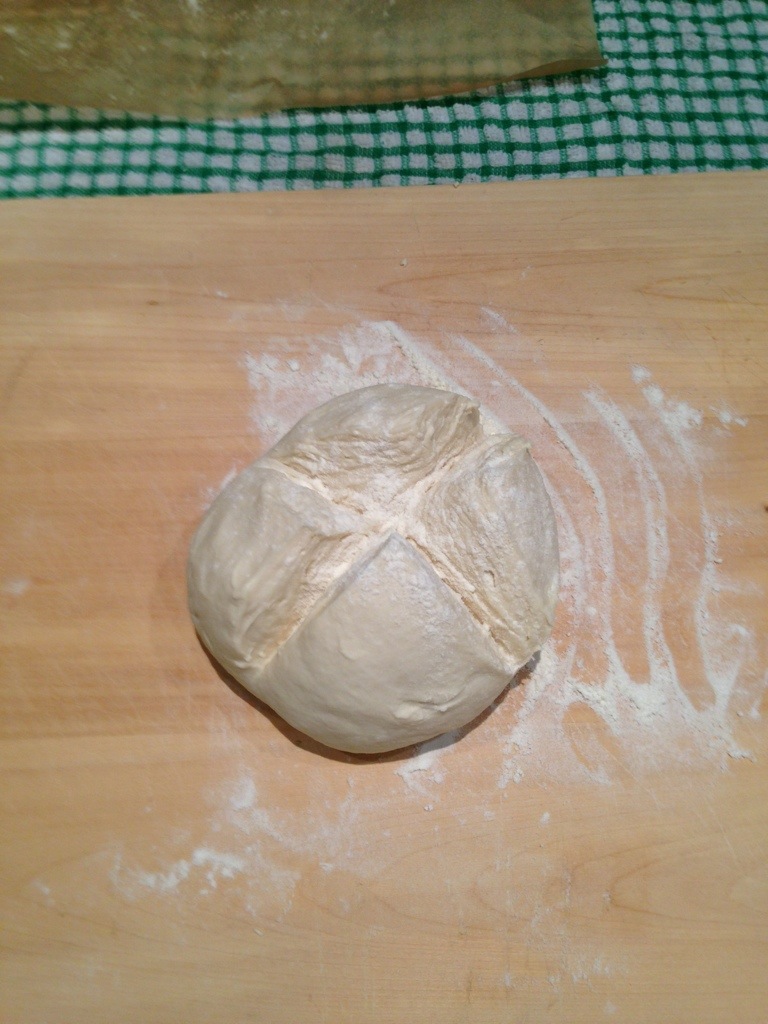
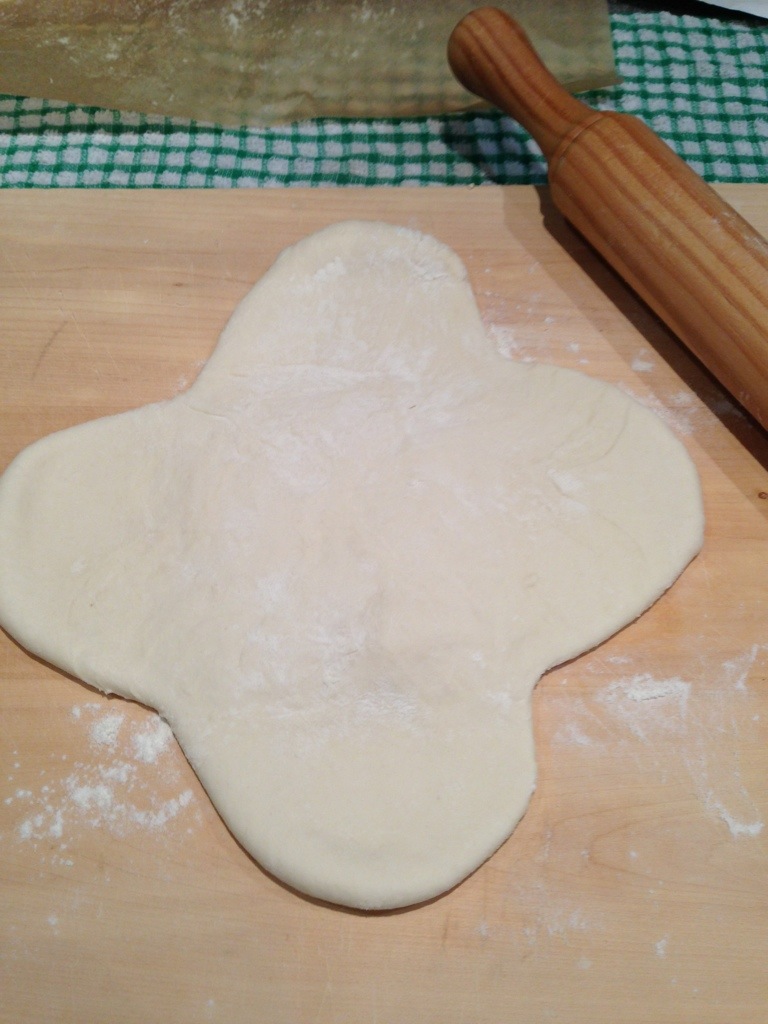
Impress the rolling pin on the cuts of the cross, making what looks sort of like a four leaf clover. Now, roll out each of the clover leaves to make an actual cross with the dough. The leaves can be rolled quite thin, however, please make sure that the centre square of the dough is quite thick but flat. The reason is that when you fold the four leaves over the top of the butter, it will become thick (one leaf times four). Therefore, the bottom needs to be the same.
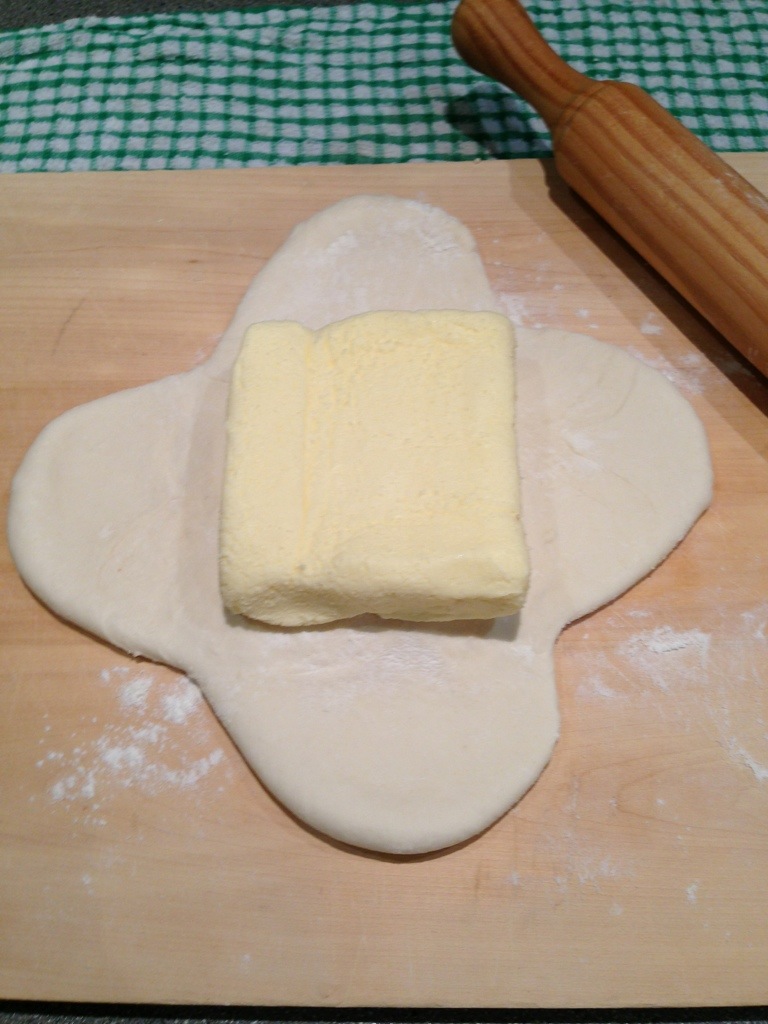
Place the square block of butter on the centre square of the dough.
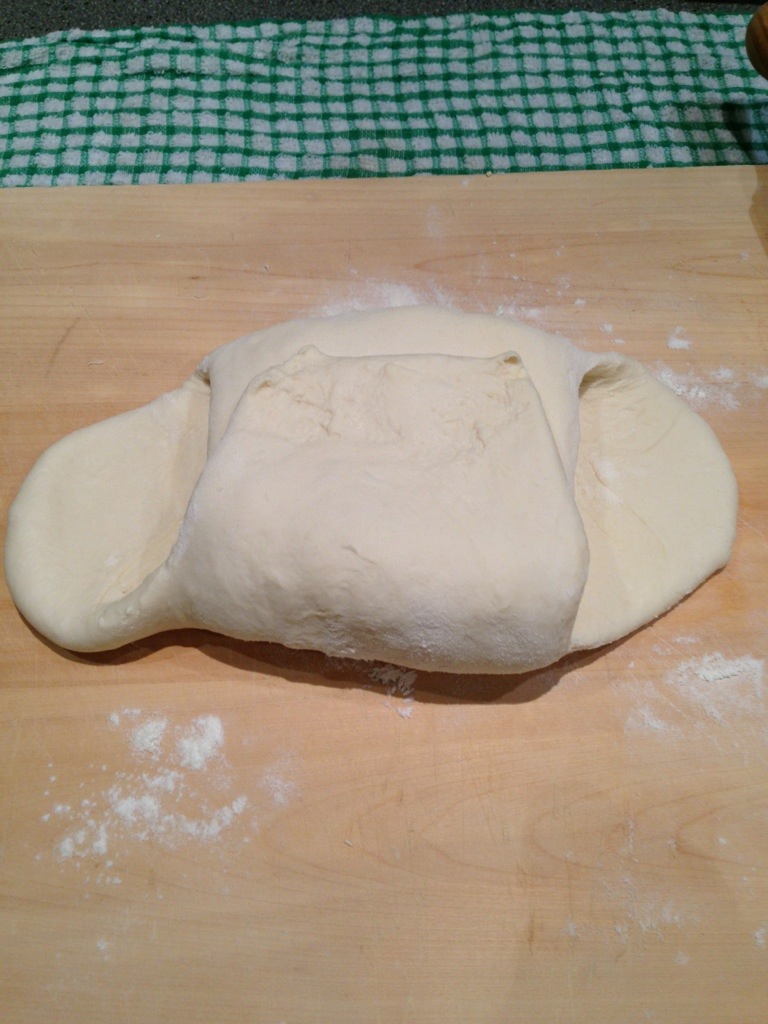
Wrap the rolled out leaves of the dough over the butter, starting from the top & bottom, then both sides.
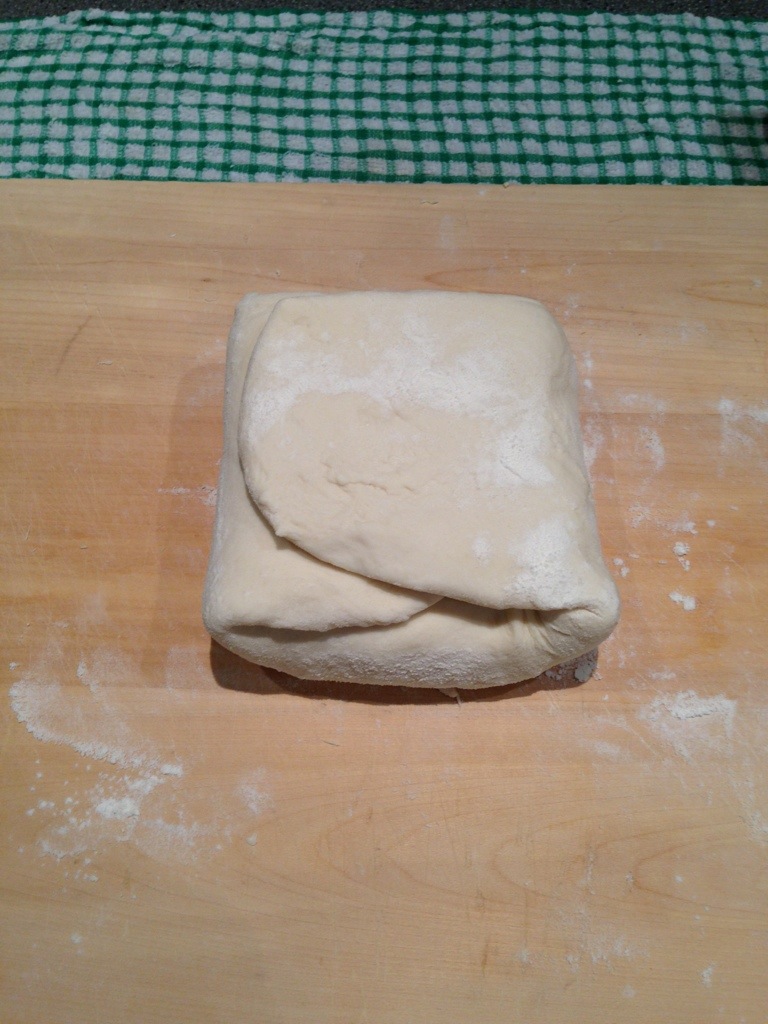
At this stage, the newly created parcel will require a bit of beating. Start by smacking the centre of the parcel and work your way outwards on both sides. You want to get a rough rectangle. Make sure you overturn the parcel and smack the underside as well.
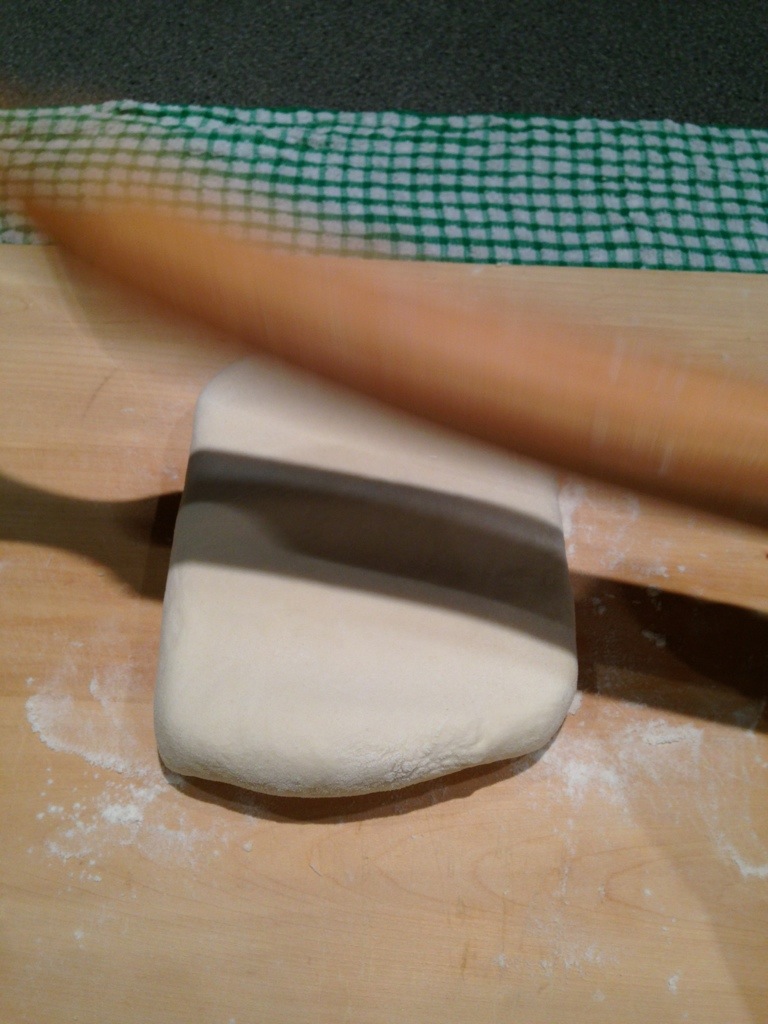
Once the parcel has become workable, start rolling it out into a longer rectangle, making sure that you keep turning it upside down and rolling the underside as much as the top. Dust if necessary. Try also to keep the edges of the rectangle as square as you can. After rolling it out to about 40 centimeters x 20 centimeters, you can now make the first of your folds. Just like a business letter, fold the left side two thirds of the way in.
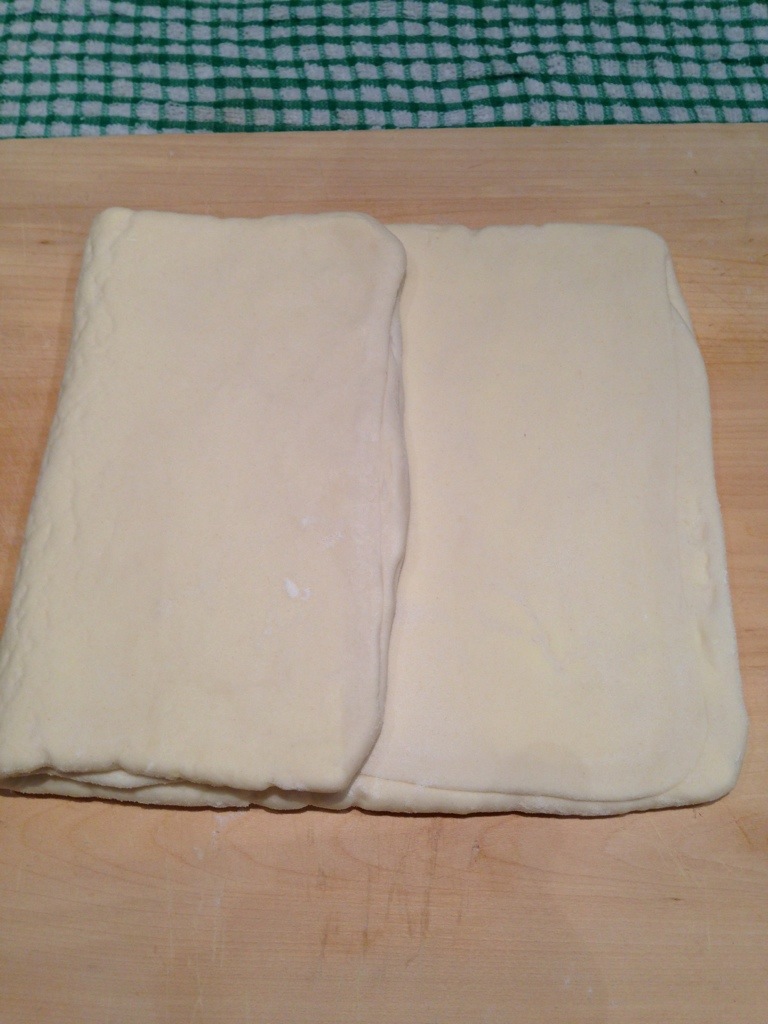
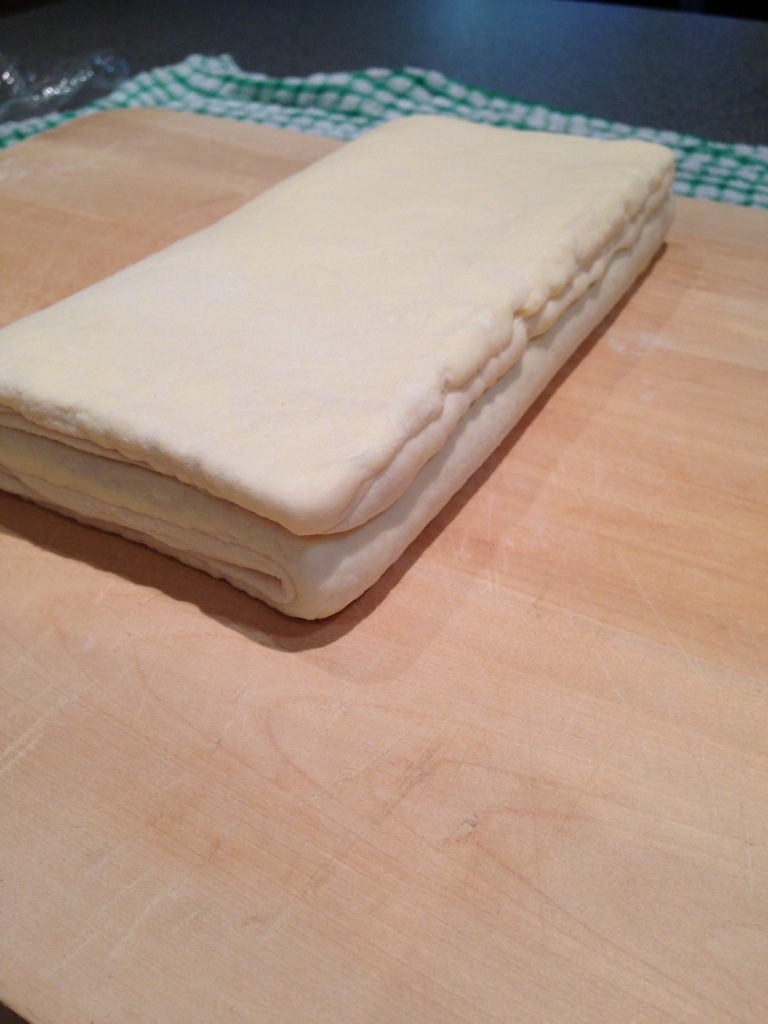
Next, fold the right side over the left. This is your first turn.
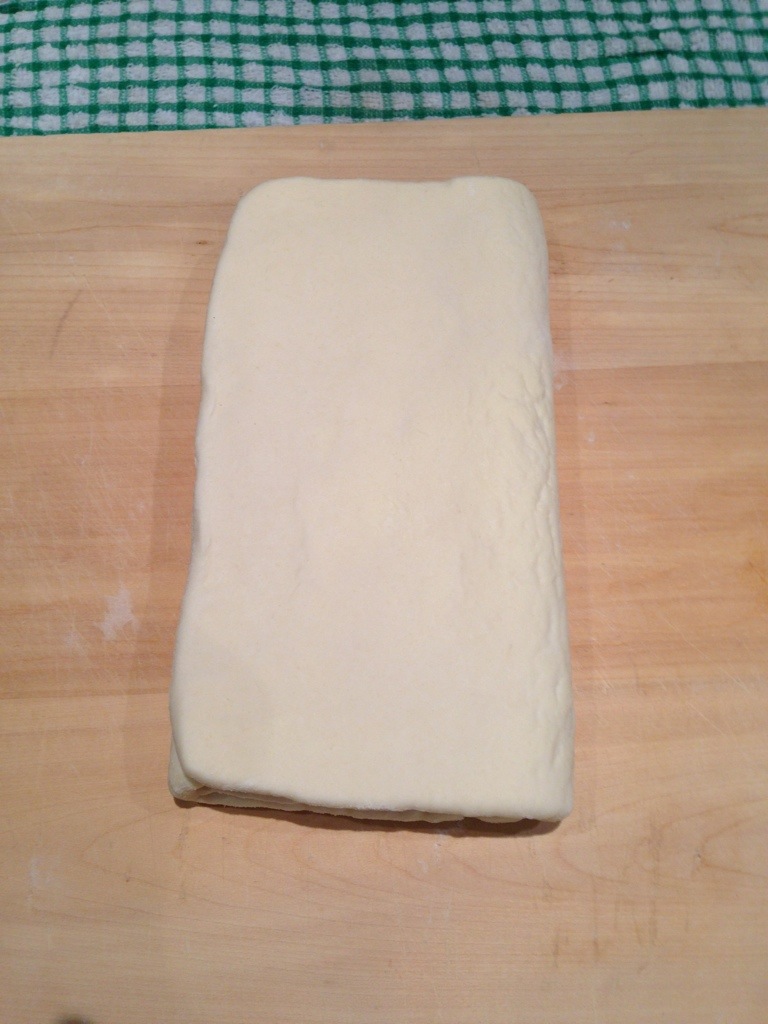
From this, repeat the process of rolling a new rectangle once more and folding it like the picture above. You have now completed two turns. Now you will need to wrap the pastry in cling wrap and put it in the fridge for about half an hour. This will let the dough and butter harden up slightly, making it easier to roll.
Once it has rested, you will need to roll it into a rectangle and fold it into a business envelope two more times.
Then, place it in the fridge for another half an hour.
You have not completed four turns.
finally
Once it has rested again, you will need to roll and business-letter it another two more times.
Then place it in the fridge for another half an hour.
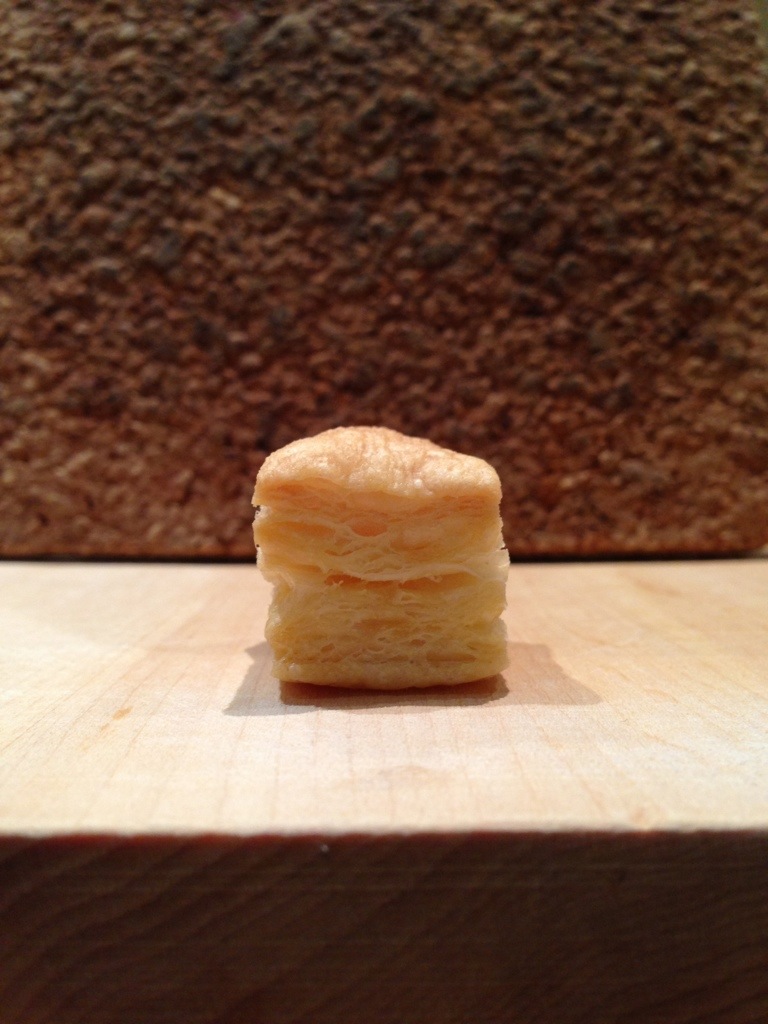
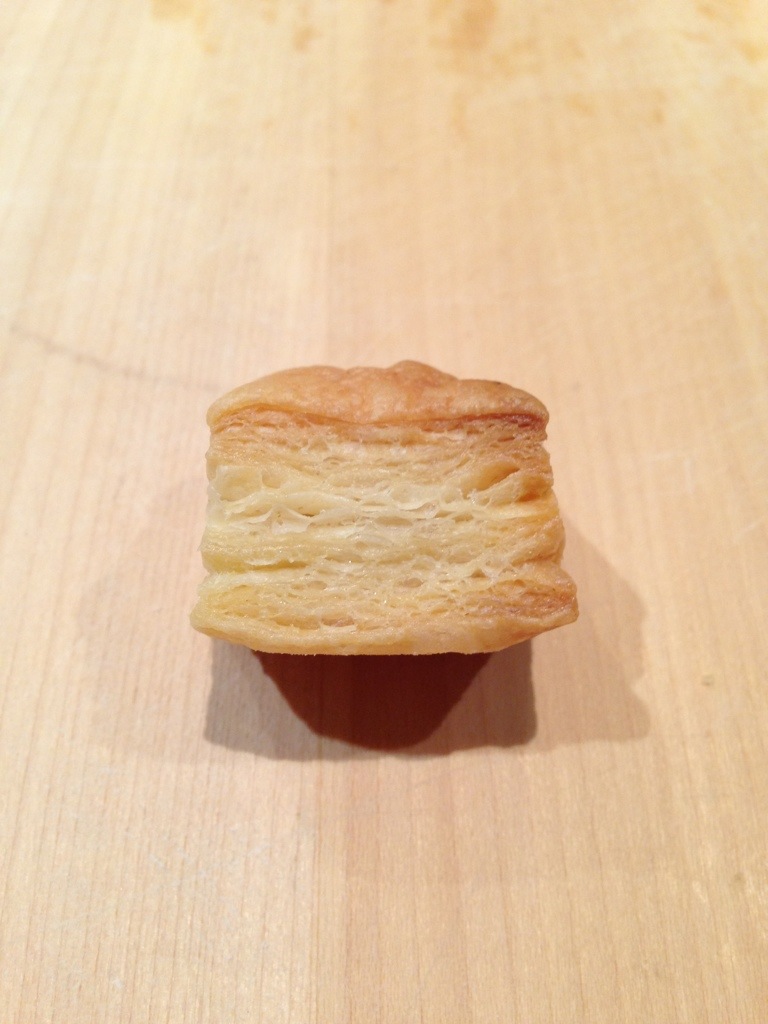
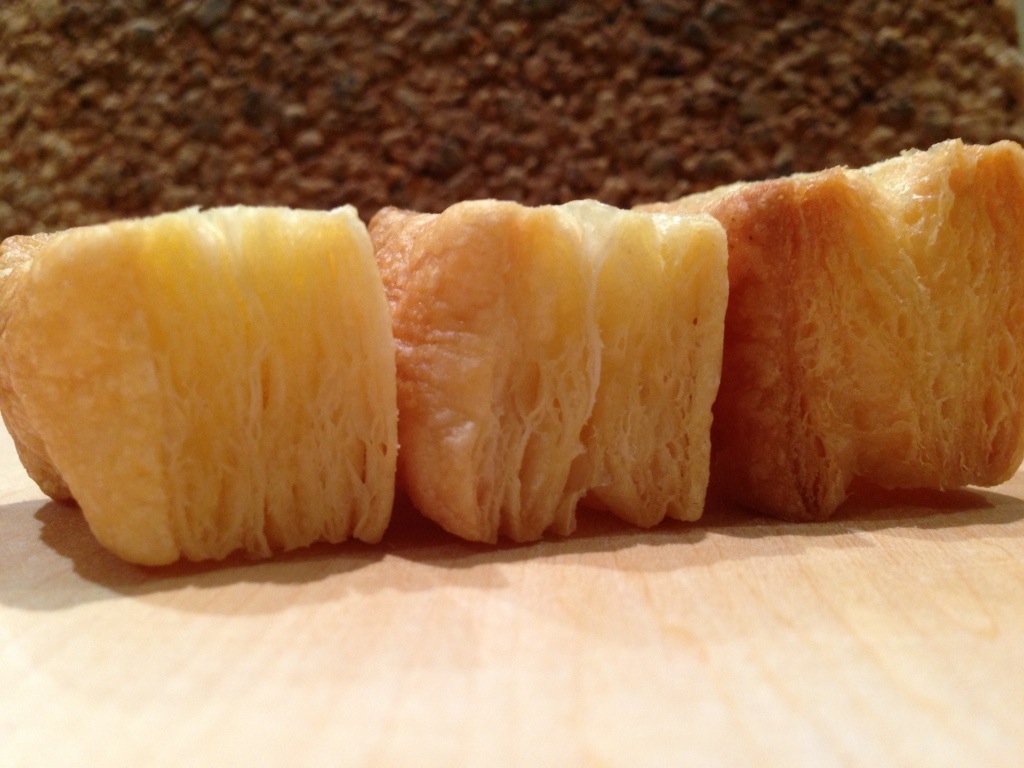
All in all, you will have completed six turns, or, 729 layers of laminated dough and butter.
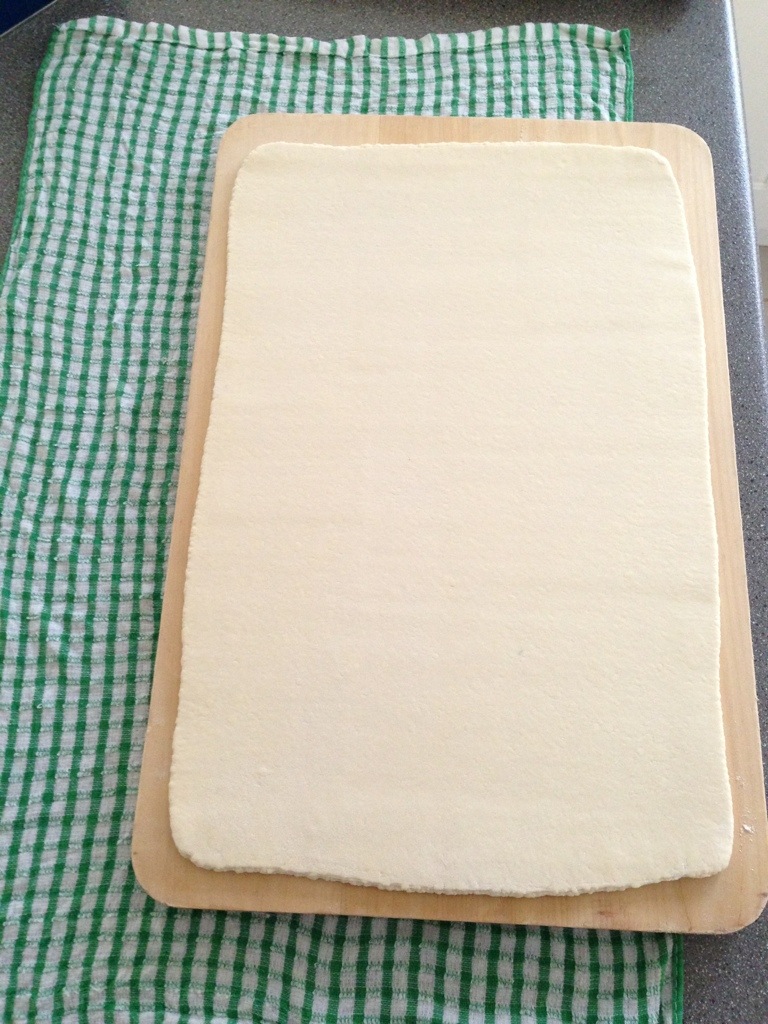
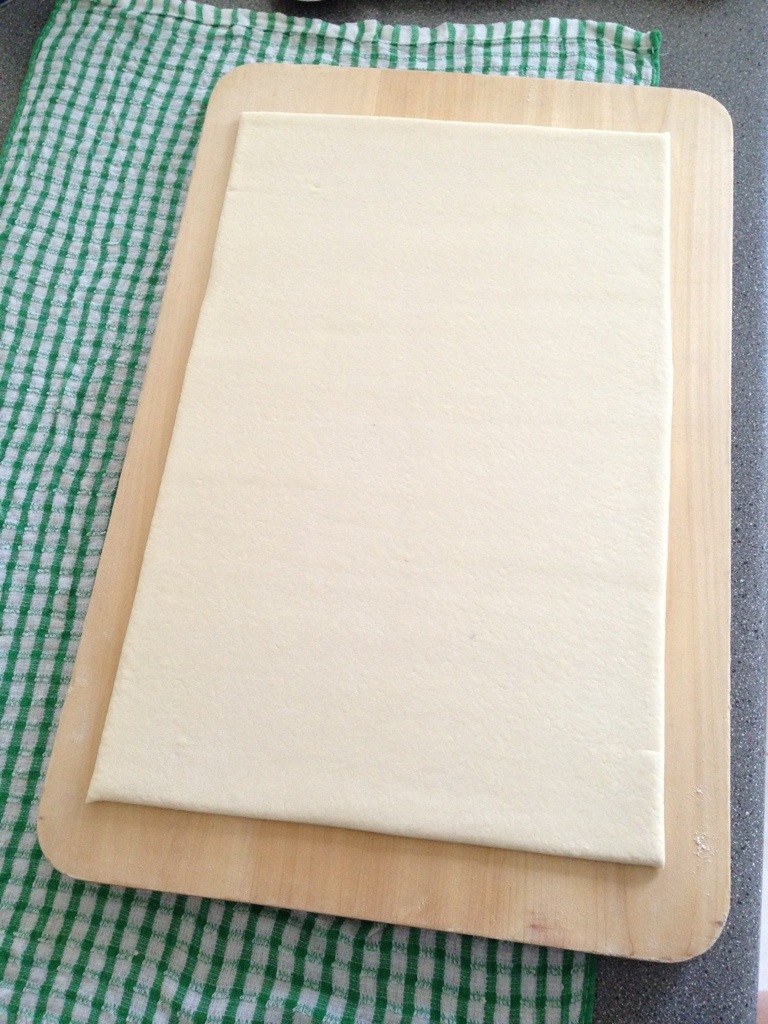
Unwrap the final turn and place it on a lightly floured board.
Roll it out to approximately 4mm in thickness. If it has softened somewhat by the time you roll it out (and it will), place it back in the fridge, covered by a sheet of cling wrap. Let it sit in the fridge for half an hour to firm up.
After the pastry has firmed up, you will need to trim the pastry to reveal the edges and allow it to flake out when baked. You can roll the scraps together and bake them as a sheet. They will rise but not as nicely as the main parts. Give it to someone you don’t like.
You can now start cutting. I use a piece of stiff cardboard as a guide. This provides a very straight edge.
Then, use the pizza cutter and run it along the straight edge to get a nice straight cut.
Repeat on all 4 sides.
If you are using the pastry straight away, use it as normal. You can roll it out a bit more as well to make it go further.
Remember though when cutting Puff Pastry, never cut it when it is completely soft. To avoid this, always remember to only use it when it is cold.
If you want to freeze the Puff Pastry, lay it on to the Glad go-between film or greaseproof paper and loosely roll it up like a sushi roll.
Place this roll on a flat surface in the deep freeze.
After about four hours or when it is hard enough, take it out and wrap it properly either with cling film or place it in a zip lock bag.
Thaw in the fridge overnight before use or at room temperature for 2 hours.
And there you have!
All butter puff pastry.
Links to Puff Pastry suppliers:
(Barossa Valley, Australia) Carême Pastry – http://www.caremepastry.com/
(Dorset, England) Dorset Pastry – http://www.dorsetpastry.com/

Thanks for your tips. I have made this a few times, but, still needs a recipe. I suppose the professionals uses vinegar, but, keeps it to themselves.
yeah, they must use some sort of acid in the mix, vinegar or lemon juice makes the most sense!